Engine is currently in Open Beta and requires self-hosting. If you need a managed version, please contact us.
Configuration
Visual learner? Watch our video tutorial on how to configure a self-hosted version with Docker, instead.
Prerequisites
Before you begin, ensure you have the following:
- Docker
- PostgreSQL
Part 1: Wallet Configuration
To use Engine, you will need to initiate it with a backend wallet using one of the following options:
Secret Key
Setup a
.envfile at the root of your project’s repositorySet the following variables in your
.envfile:POSTGRES_CONNECTION_URL=<YOUR_CONNECTION_URL>
THIRDWEB_API_SECRET_KEY=<YOUR_SECRET_KEY>
AWS KMS
Engine supports AWS KMS for signing & sending transactions over any EVM chain.
Setup a managed key through AWS KMS.
- Create an IAM user with programmatic access. Follow the instructions in the AWS documentation on creating an IAM user in your AWS account.
- Enable Create, Get, and Read permissions for your KMS. Learn more about authentication and access control for AWS KMS in the AWS documentation.
- Create a KMS key by following the instructions in the AWS documentation on how to create keys.
Setup a
.envfile at the root of your repository and set the following variables in this file.# Required for AWS Auth
AWS_ACCESS_KEY_ID=<aws_access_key_id>
AWS_SECRET_ACCESS_KEY=<aws_secret_access_key>
AWS_REGION=<aws_region>
Google KMS
Engine supports Google KMS for signing & sending transactions over any EVM chain.
Setup a managed key through Google KMS.
- Create an encrypted key with Cloud KMS. Learn how to Create encryption keys with Cloud KMS from the Google Cloud documentation.
- Create a Service Account. Learn how to Create service accounts in the Google Cloud documentation.
- Create a key with this service account.
- Download the JSON file. The JSON file details will be used to authenticate with Google KMS.
- Add the following permissions to your service account:
Cloud KMS AdminandCloud KMS CryptoKey Signer/Verifier
Setup a
.envfile at the root of your repositorySet the following variables in your
.envfile:# Required for Google Auth
GOOGLE_APPLICATION_CREDENTIAL_EMAIL=<client_email_from_download_service_account_json>
GOOGLE_APPLICATION_CREDENTIAL_PRIVATE_KEY=<private_key_from_download_service_account_json>
# Required for Google KMS
GOOGLE_APPLICATION_PROJECT_ID=<google_project_id>
GOOGLE_KMS_KEY_RING_ID=<key_ring_id>
GOOGLE_KMS_LOCATION_ID=<location_of_key_ring>
Part 2: Server Configuration
While in beta, Engine only offers self-hosted options. To use Engine, you will need to host your own server using a containerization platform such as Docker or Kubernetes.
Configure Server Using Docker
To host your own server with Docker:
To obtain the Postgres Docker Image, navigate to the root of your project and run the following command in your command line:
docker run --env-file ./.env -p 5432:5432 --name my-local-postgres -d postgresAfterwards, to get the Engine Docker Image, navigate to the root of your project and run the following command in your command line:
docker run --env-file .env -p 3005:3005 thirdweb/engine:v0.0.3infoFor different versions, please see our Docker Hub page.
To authenticate, open
localhost:3005in your browser.Select the
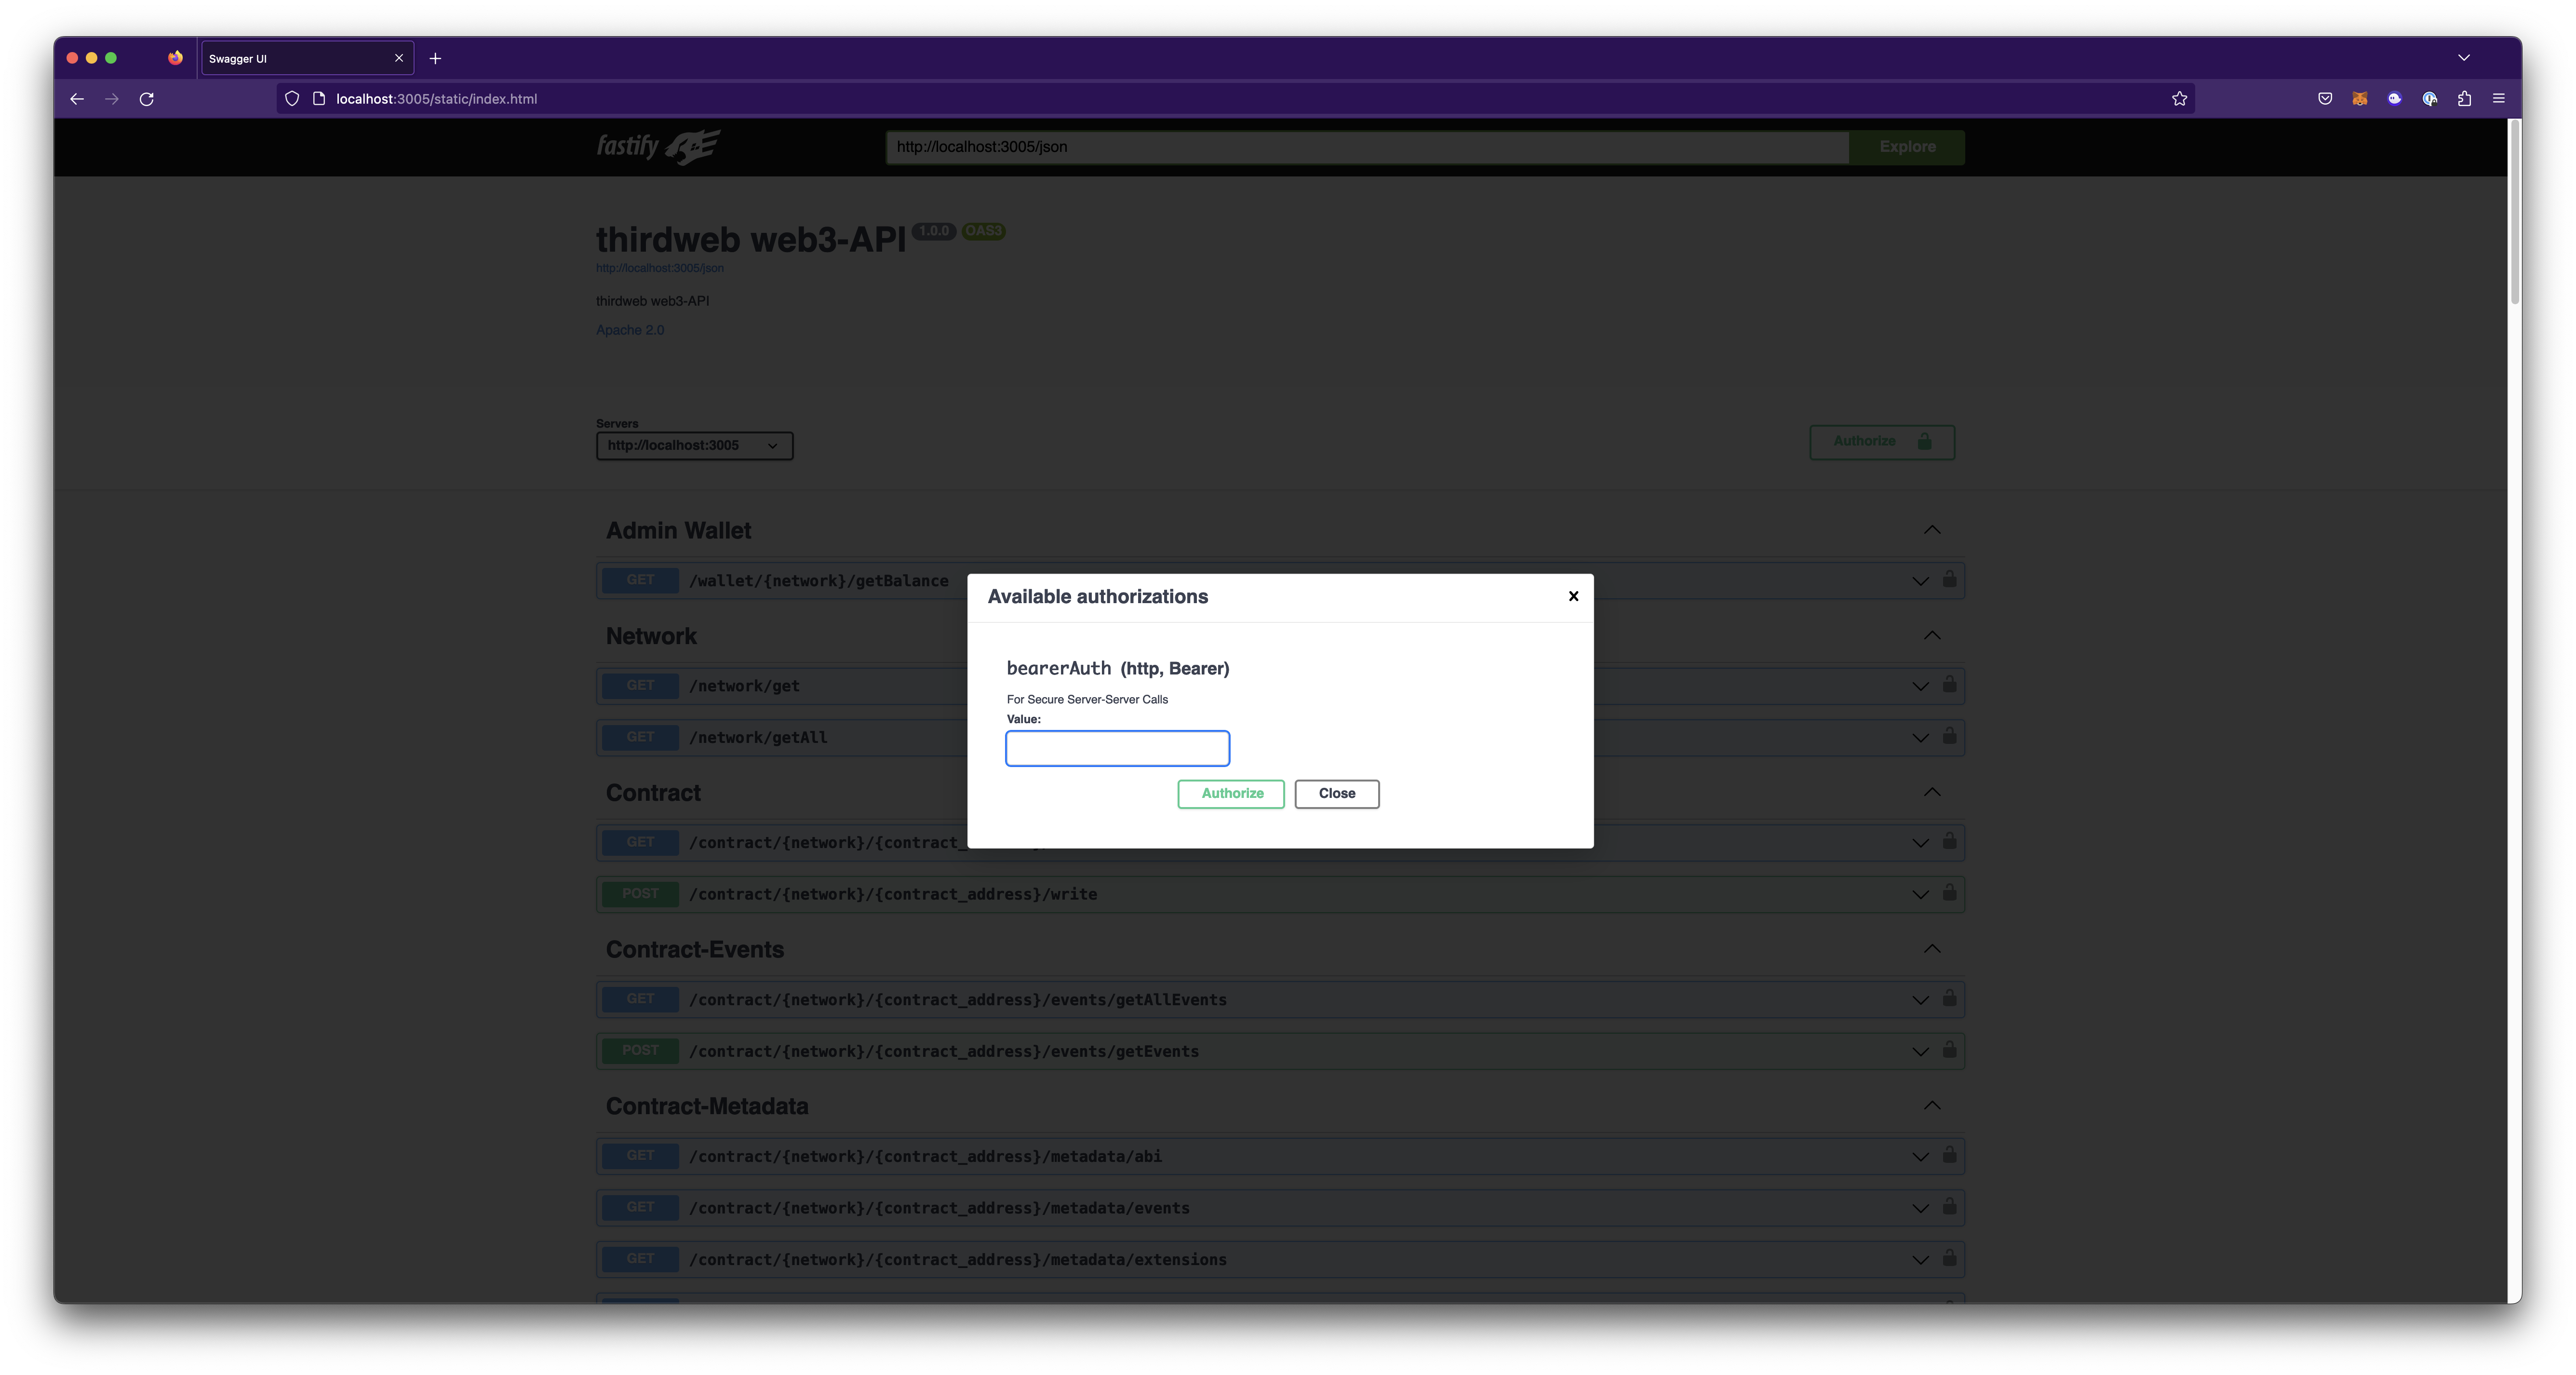
Authorizeoption on the dashboard.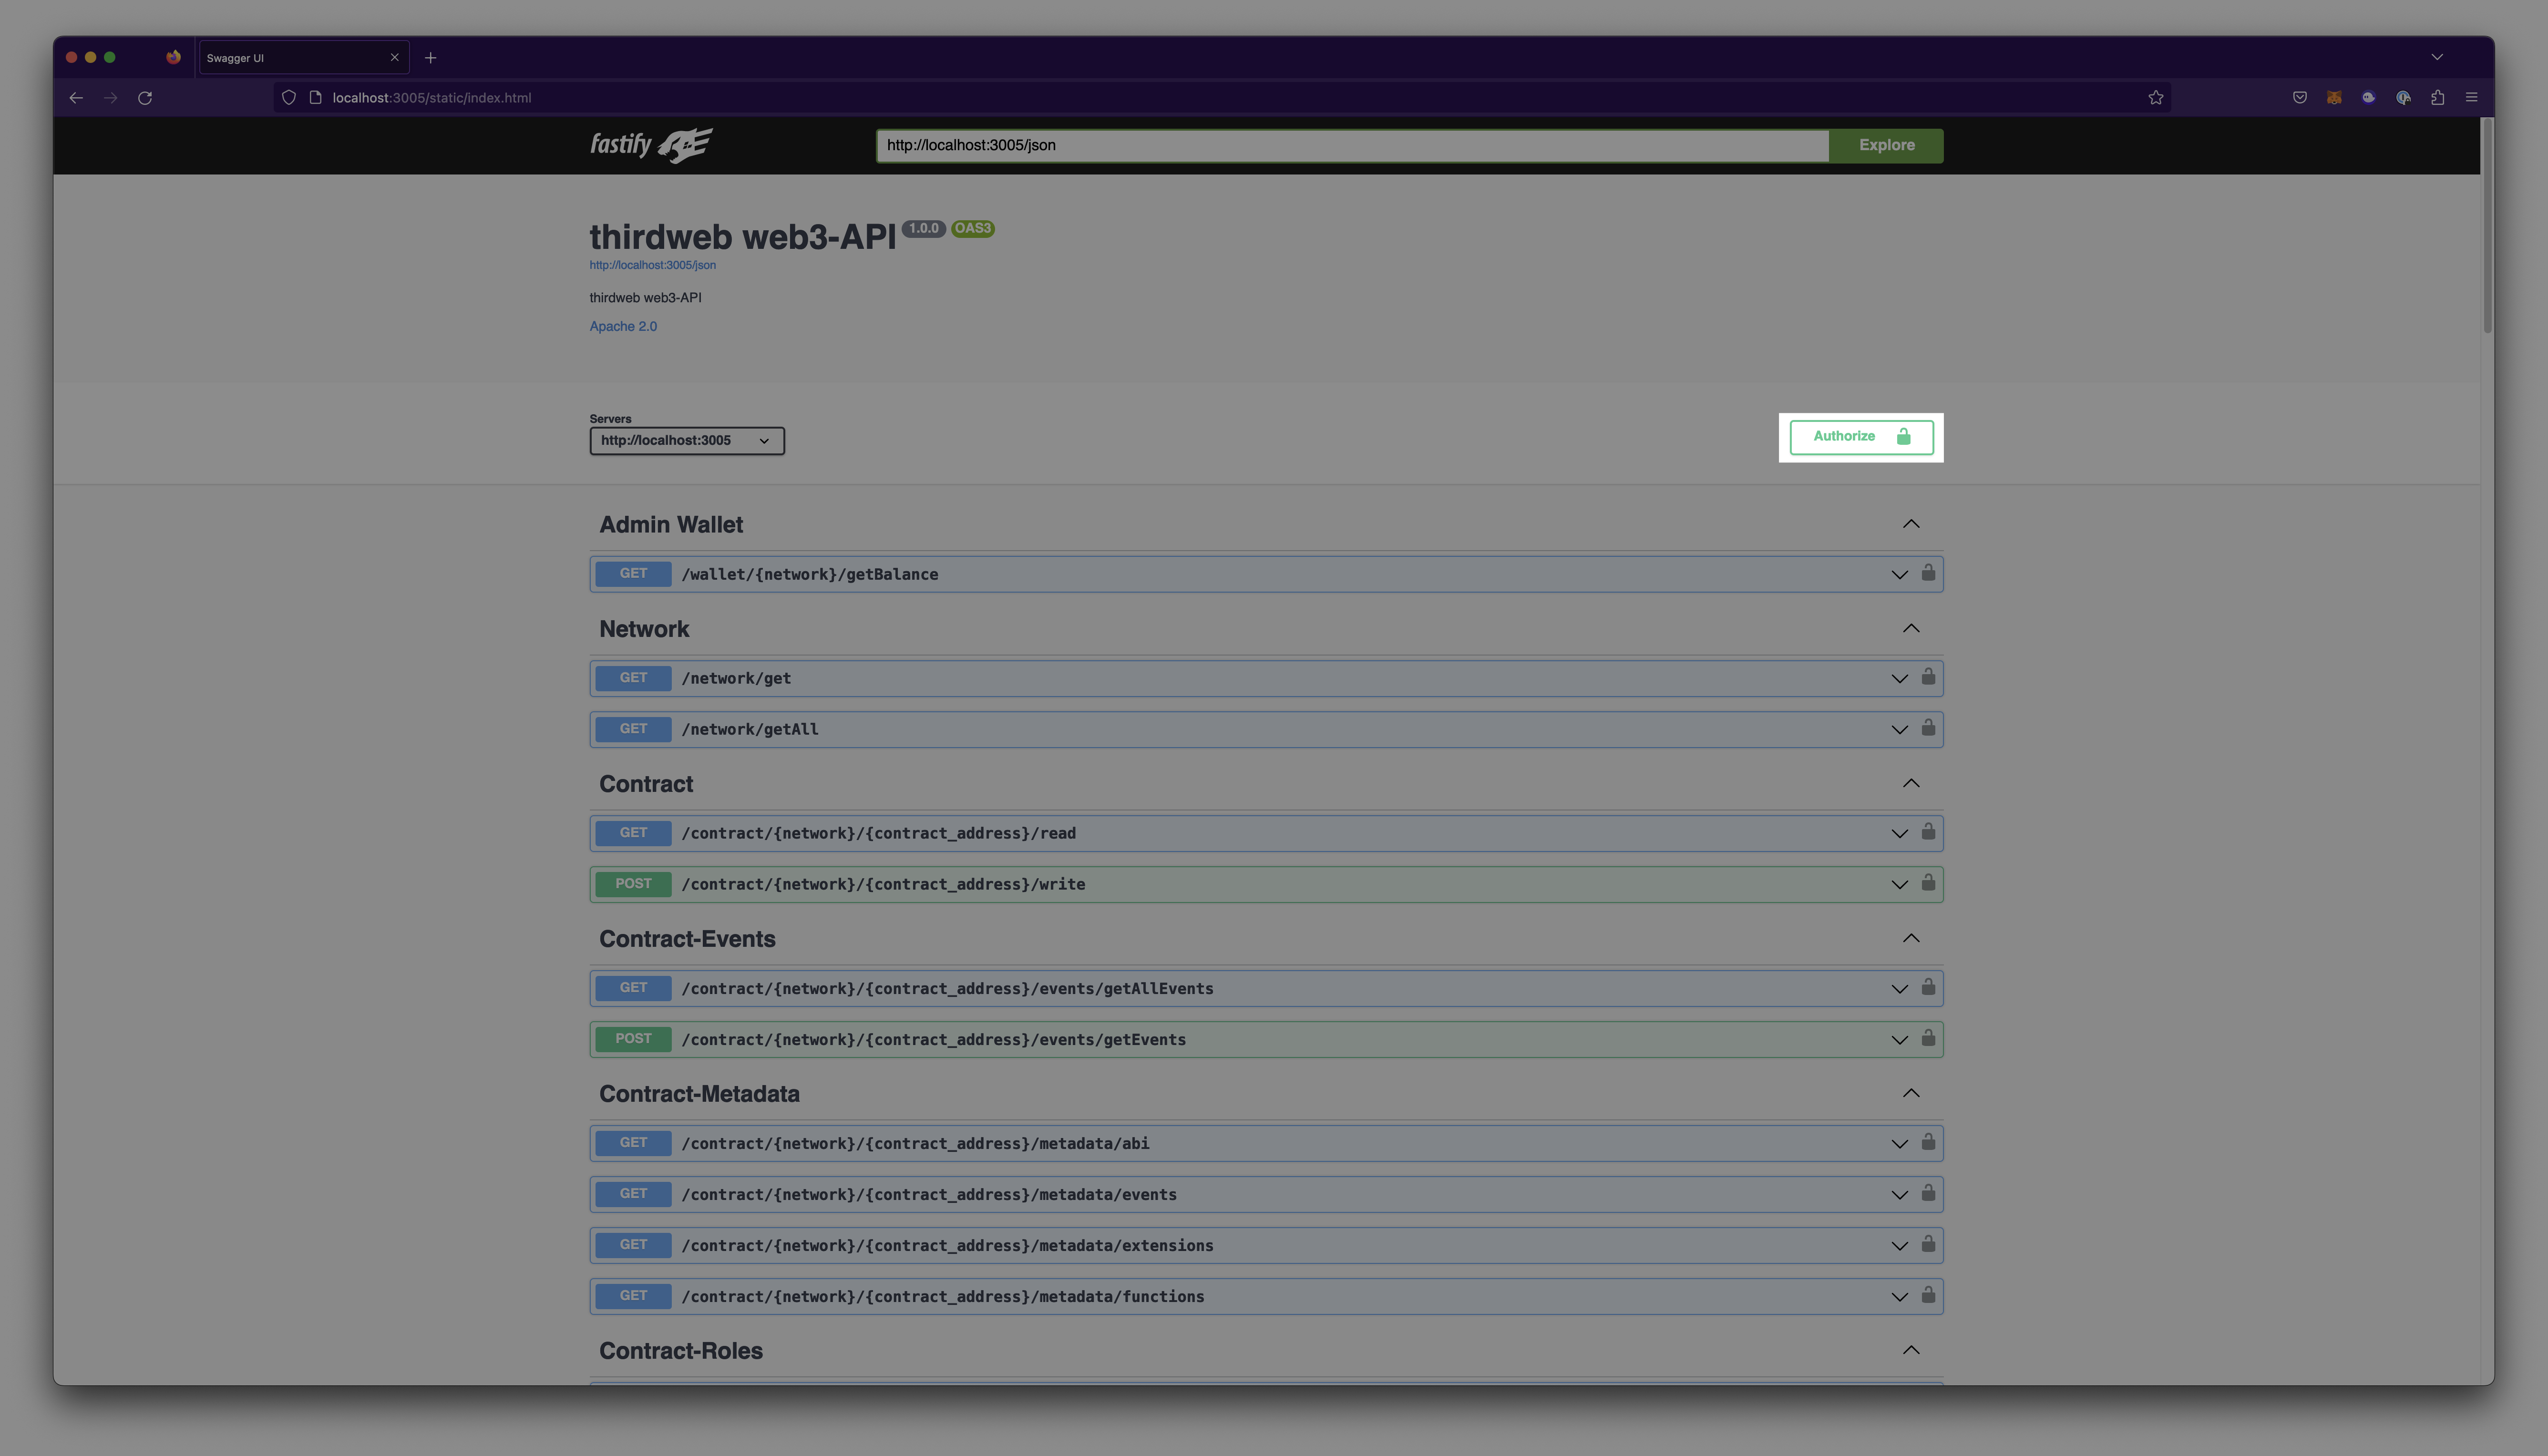
Pass in your corresponding secret key created from the thirdweb dashboard and select Authorize.
You are now ready to begin developing using APIs. To see a demonstration of endpoints, please visit the
Get Startedtutorial.
Authorization Header
All Requests need to have Authorization header with the value of Bearer <YOUR_THIRDWEB_SDK_SECRET_KEY> from the .env file.
Write requests to the server will also require a x-wallet-address: <YOUR_WALLET_ADDRESS> header to specify which admin wallet to send a transaction with.
Example:
x-wallet-address: 0x3ecdbf3b911d0e9052b64850693888b008e18373
For specific examples of implementation, follow along with our Get Started tutorial.